Learning underwater photography
Learning underwater photography (and videography) is the best way to share the underwater world with family and friends

Originally published January 30, 2018
After earning my PADI Open Water, Advanced, and Freediving certifications in the latter half of 2017, I set a goal of visiting two of the world’s top diving locations within a year.
First up was the Galápagos. I contacted one of my buddies from film school and planned a two week trip over the 2017-18 New Year’s holiday.
With film and photography backgrounds, we both desired to visually document our dives.
This meant I needed to learn underwater photography and purchase or rent the necessary equipment.
Hoping to travel light, my friend opted to buy a SeaLife DC2000 combo package with a 20MP digital camera, tray, and lights (this camera turned out to be a total nightmare).
I initially thought about shooting with my Fuji XT-1, but I could not find any professional housings for that model.
A couple weeks of research later, I settled on an Olympus E-M5 Mark II, bundled with a housing. When the unit arrived, I was surprised by how large – and not great for traveling – it was. I also realized I would need to buy a tray and handles before using it underwater. This was a deal breaker. In my mind, any additional investments in this Olympus setup were not worth it, especially since the Mark II only shot 1080p HD – not 4K (the standard in 2017).
As I put the Mark II back in the mail to return to the seller, I thought about how little time was left before my trip – less than three weeks. I needed to find an alternative camera ASAP.
Inspired by watching the BBC’s Blue Planet series, I began to look at cameras capable of shooting 4K video.
On the high end of the market were brands like RED and ARRI. Unfortunately, cameras depreciate as fast as phones, so I ruled out the best equipment and started to review more affordable mirrorless options.
One of those options was the Panasonic GH5. Several of the features of this camera grabbed my attention.
- Fast autofocus: Fish do not like to sit still. Forget about focusing manually underwater. Even if you wanted to try, manual focusing is not possible with most housings. Also, think about how difficult it can be to handle focusing on land; now throw in a mask and particle-filled water.
- Records 4K in 60FPS: The underwater world is a fast moving one. The relatively high frame rate of 60FPS means you can obtain a natural looking, slow-motion image in post-production.
- Records a flat image profile: A flat image profile helps you grade the footage – e.g. pull highlights or push exposure – in post-production, without it falling apart.
- 20MP still sensor: A decent sensor size means you can capture high-quality stills in addition to the 4K video.
I decided to go for it.
I listed my XT-1 kit for sale and quickly ordered a used GH5 and wide lens.
Next, I focused on finding a housing.
Underwater photography is a niche market, so there were only three brands from which I could compare and select – Nauticam, Aquatica, and Ikelite.
I read a number of stories about Ikelite housings flooding and decided to write off that company.
The Nauticam housing seemed to have the best reputation, but the prices were sky high.
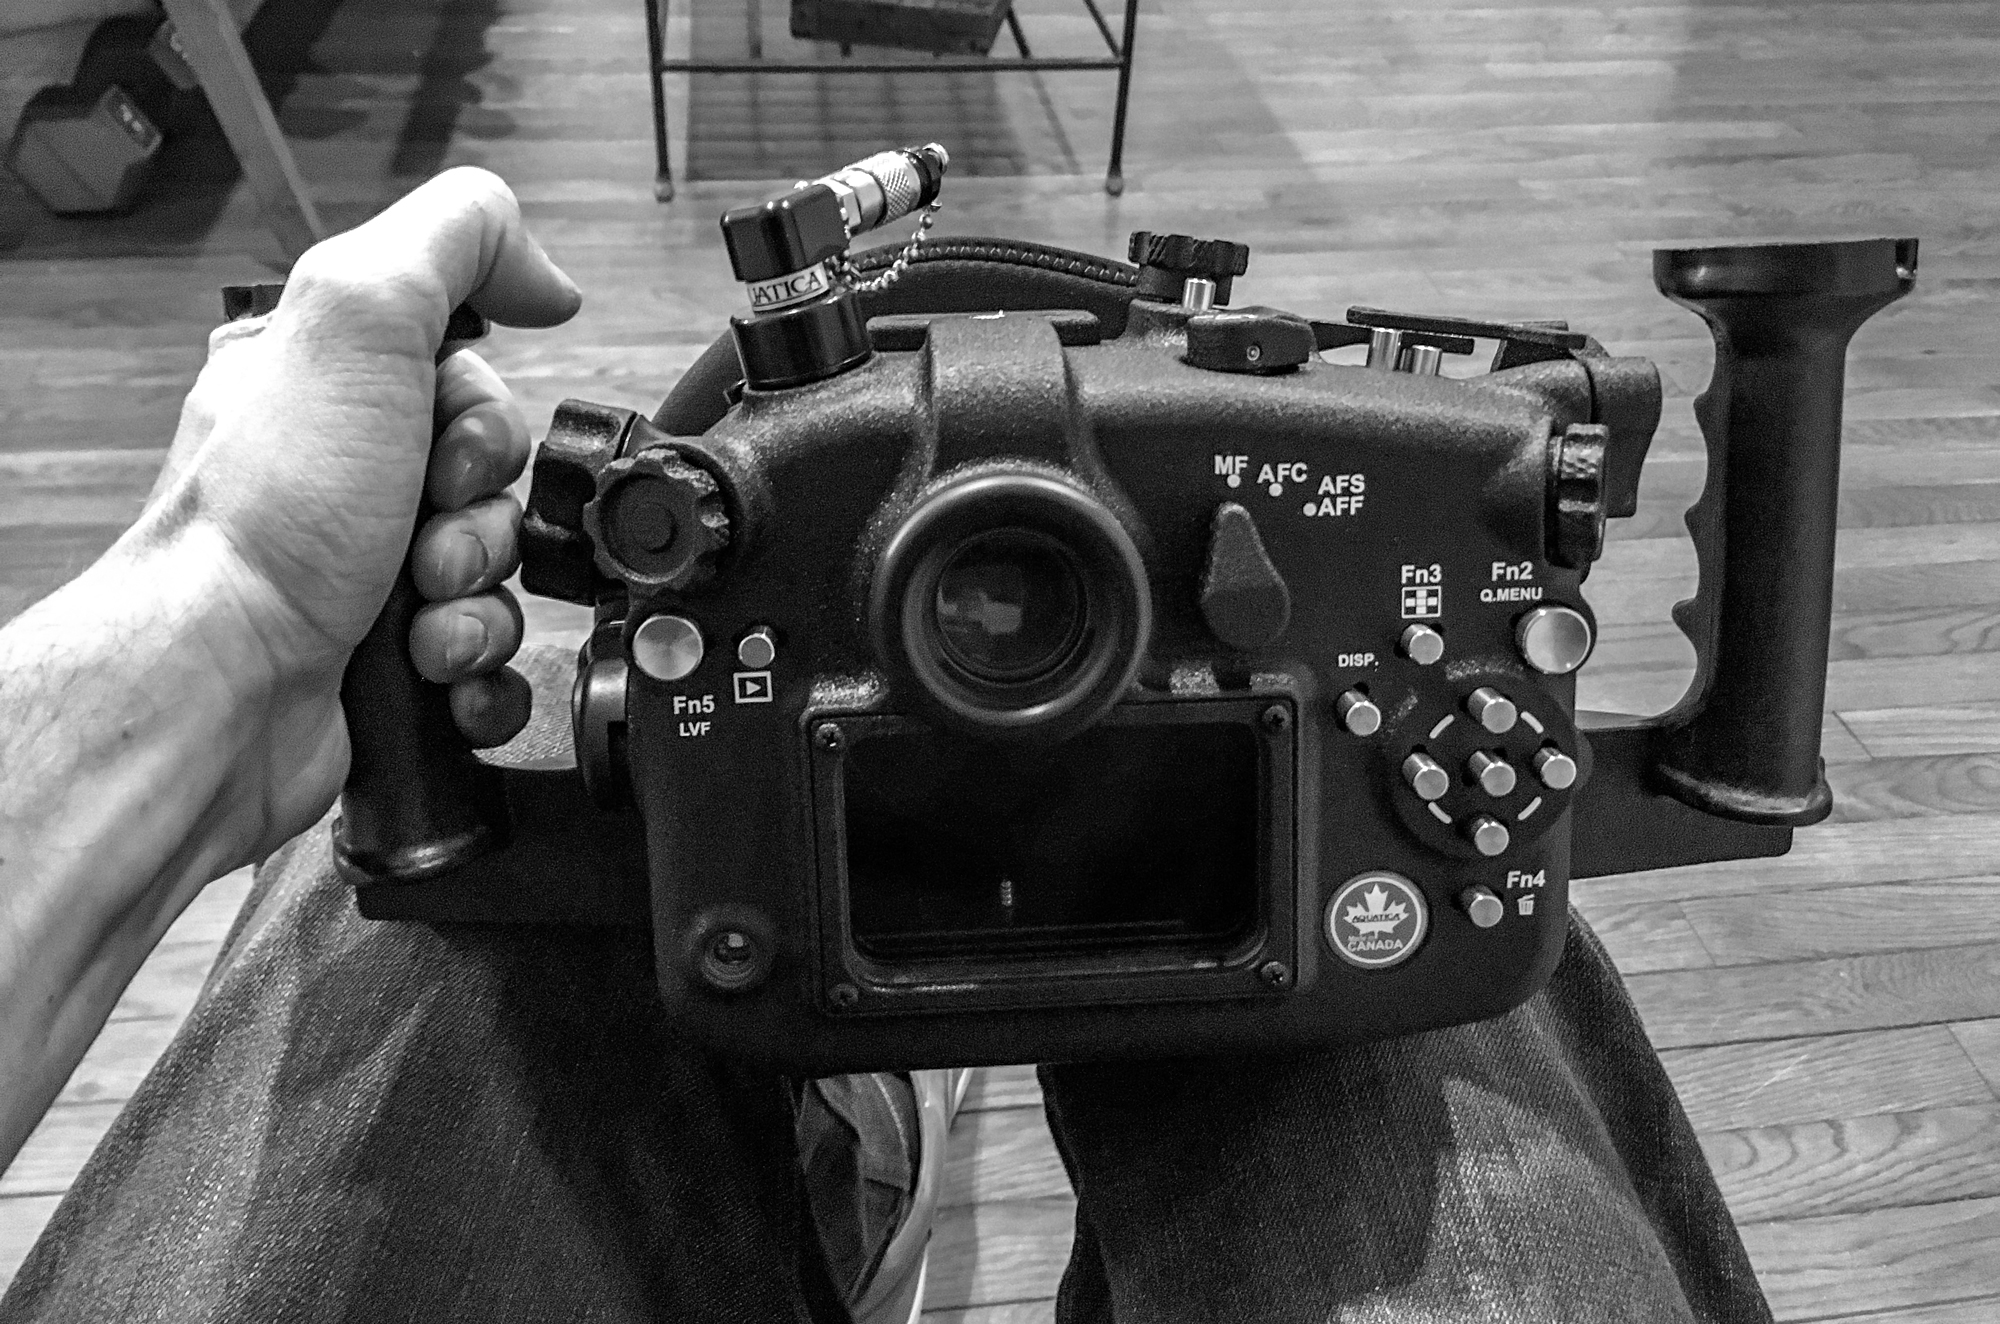
This left me with one option – the Aquatica.
This also turned into a problem.
When I tried to order the housing from Backscatter, one of the leading underwater photography shops in the States, they said they were waiting on the next shipment from the manufacturer. They did not know when this would be.
I proceeded to contact several other vendors.
No one had the housing in stock.
My next move was to contact the manufacturer in Canada.
A representative from Aquatica informed me that the next batch of housings would arrive from the paint shop within a few days. I offered to pay extra to have a unit overnighted, via Backscatter, to DC. Even with this extra expense, the overall price remained significantly cheaper than the Nauticam.
For extra peace of mind, I also purchased the add-on Aquatica SURVEYOR vacuum & moisture sensor system. Before entering the water, I could turn on a moisture sensor inside the housing and pump out the air to form a vacuum. If the vacuum became compromised or the moisture sensor detected water while on the dive, an audible alarm would sound and a bright red LED would flash.
I received the gear just in time – a few days before I flew out.
To test the housing, I filled the bath, created a vacuum, and submerged the unit, sans camera. Seemed fine after fifteen minutes.
Once in the Galápagos, I tested the housing again – this time at a greater depth.
Then I tried it with the GH5 inside. It worked, but I soon encountered problems.
Problem 1: Spots on the dome port
When I checked my video clips from the first day, it quickly became apparent that none of it was worth keeping.
A few smudges on the port had ruined every shot.
I reformatted the card, wiping all of the data, and made sure I had Zeiss wipes for the second dive.
Problem 2: Bubbles on the port
Before entering the Pacific the next morning, I thoroughly cleaned the port with a Zeiss wipe. I also poured some water mixed with baby shampoo over the dome (same technique you would use to keep a mask from fogging).
When I reviewed the footage later that evening, I was surprised to see tiny dots all over the port. Most of my shots were, again, unusable.
Eventually, I determined that these dots were air bubbles. To remove them, I needed to wave my hand in front of the port each time I got in the water.
Problem 3: Poor visibility
The biggest video quality issue of the trip was completely out of my control. On a lot of our dives, we experienced poor visibility.
Problem 4: E-stabilization
Around day four, I discovered that the e-stabilization feature of the GH5 was causing severe distortion around the edges of some of my video shots. Turning this feature off solved the issue.
Housing maintenance
Along with solving the above problems, I also learned a bit about underwater camera housing maintenance.
Always rinse after using in saltwater.
Washing the housing with fresh water as soon as you return from a dive is key. Often, your dive boat will have a camera “dunk tank.” If it does not – as I encountered in the Galápagos several times – you need to have your own fresh water handy. In Ecuador, I brought a 3L jug of water for this purpose.
After returning to my hotel each day, I took the housing into the shower and thoroughly rinsed it again.
Check your o-rings.
The housing o-rings provide watertight seals around various housing components – e.g. the housing door. You have to make sure these are always properly greased, that they are not compromised by sand or other debris, and replace them when they crack. I used credit cards to remove them for inspection. Worked well.
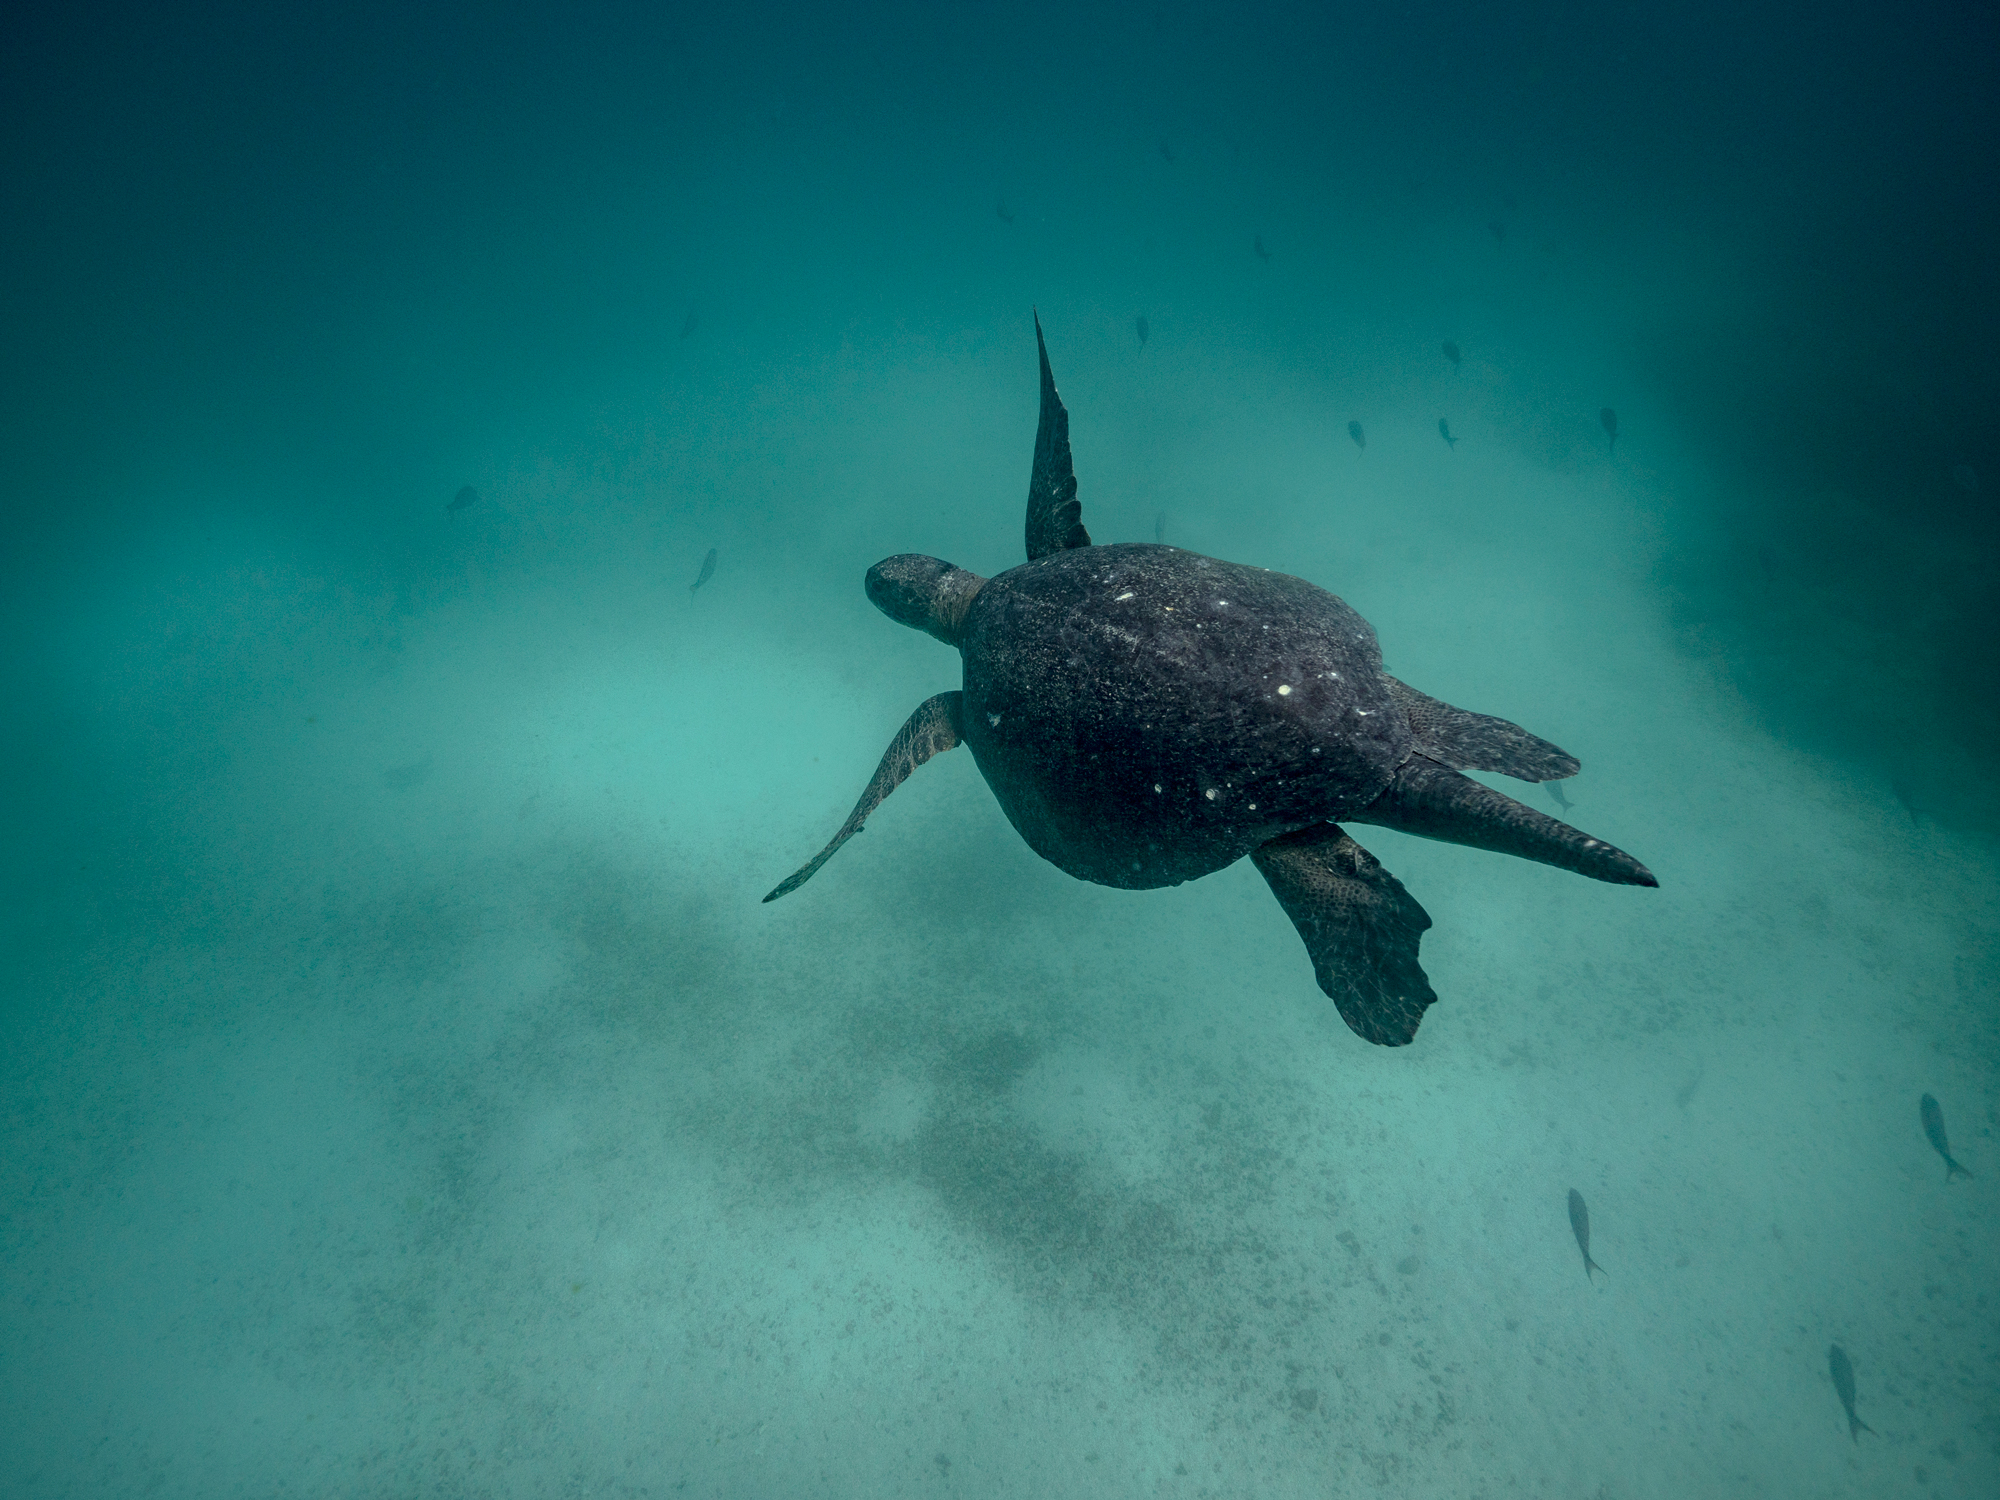
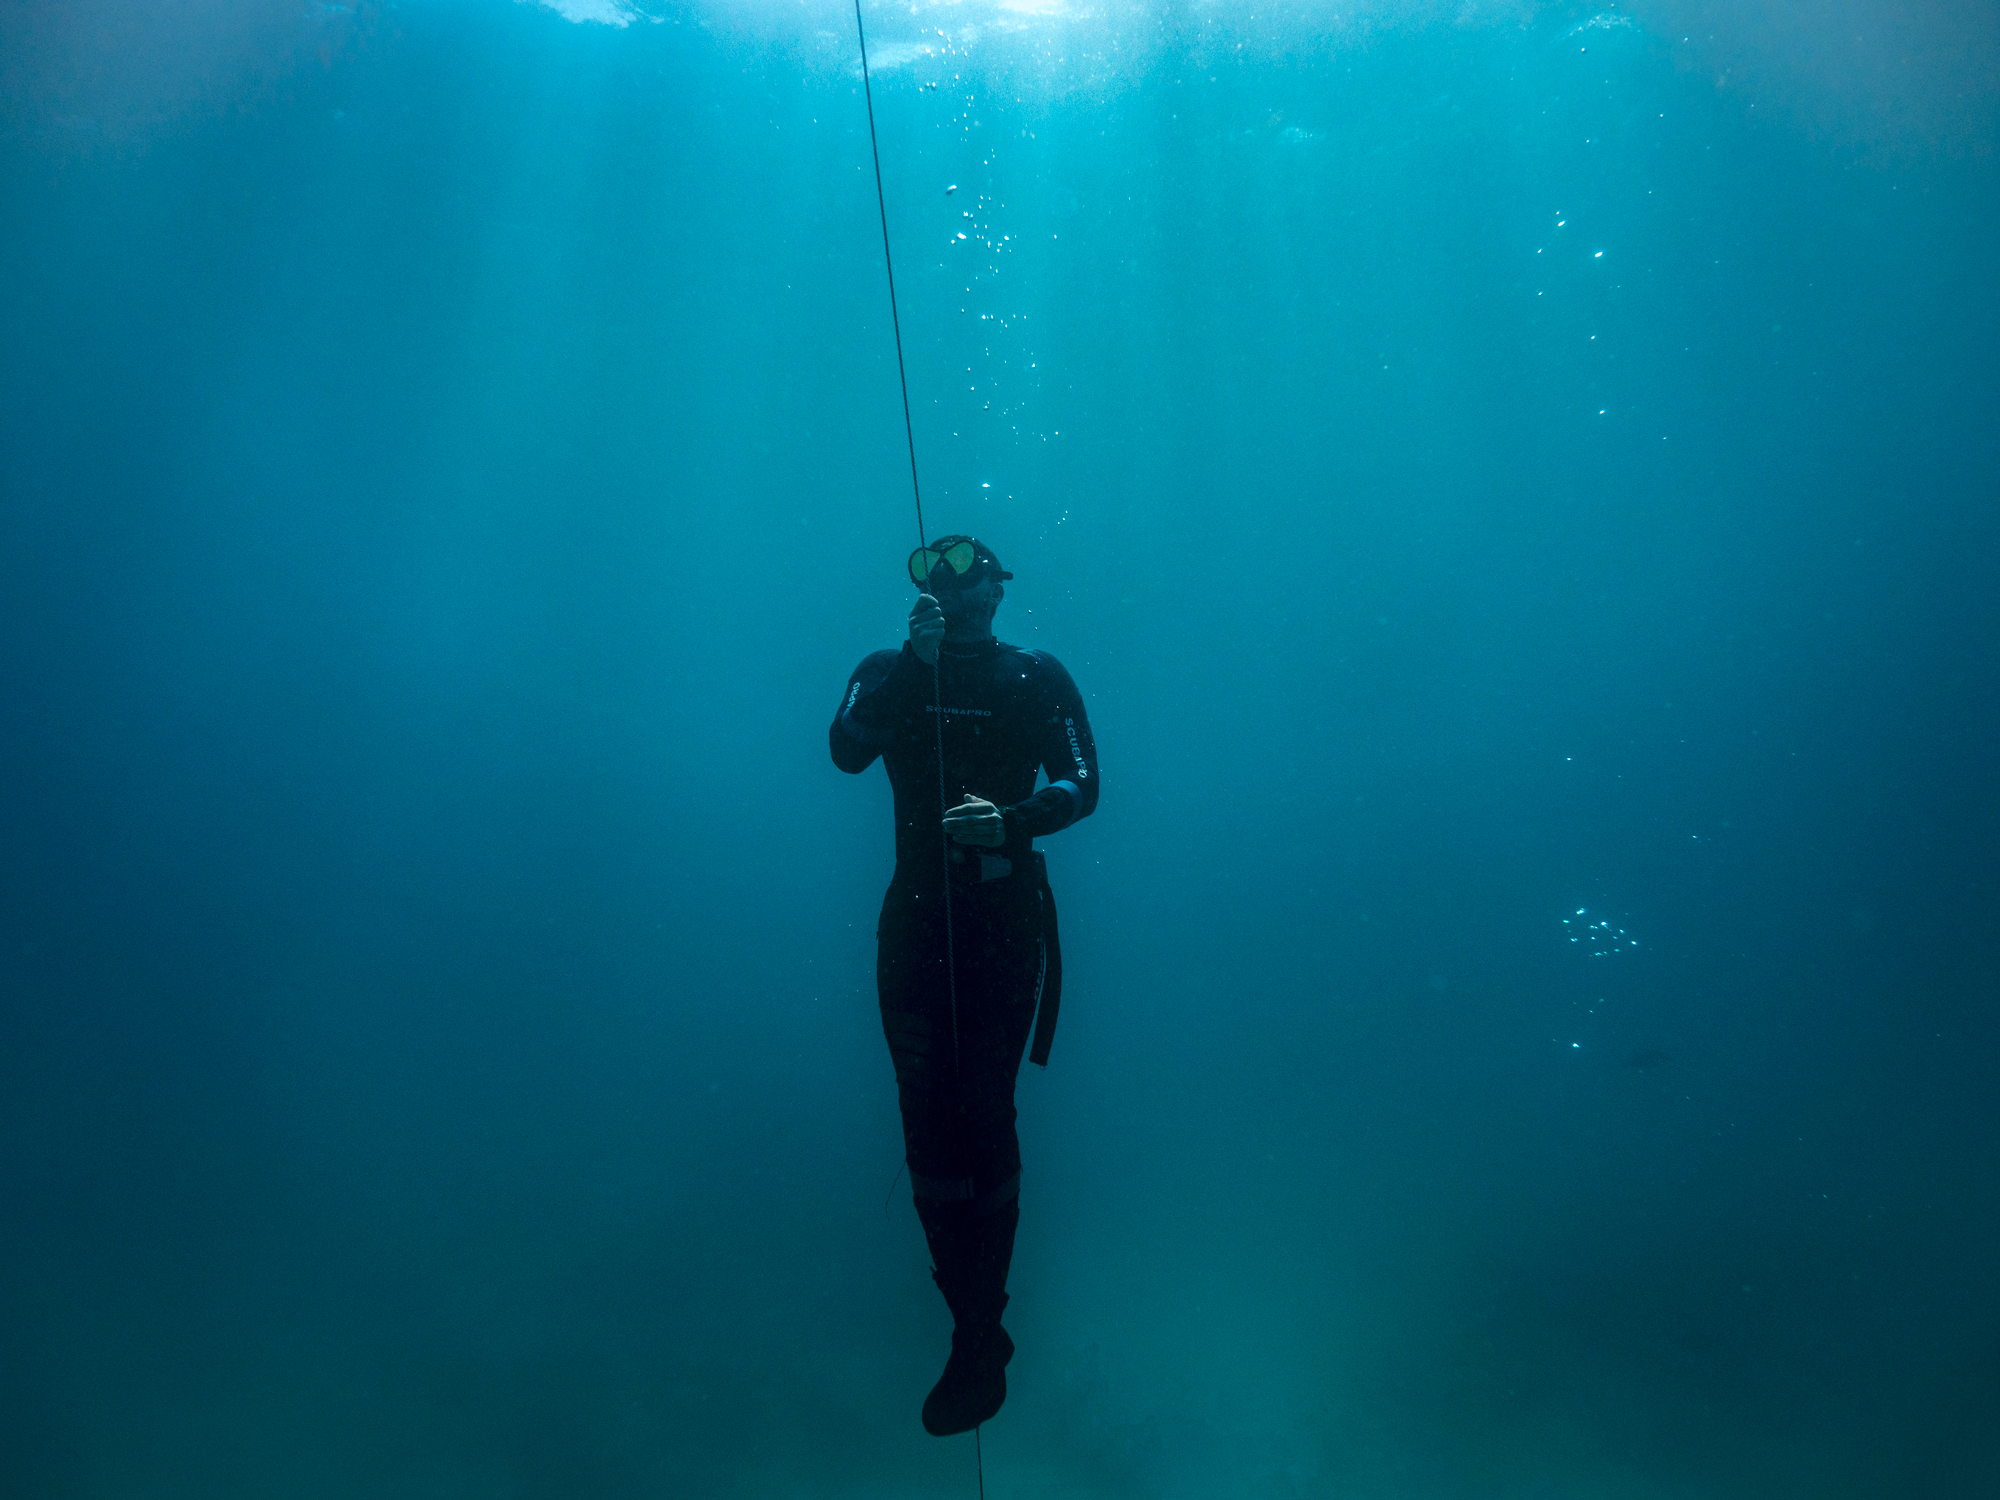
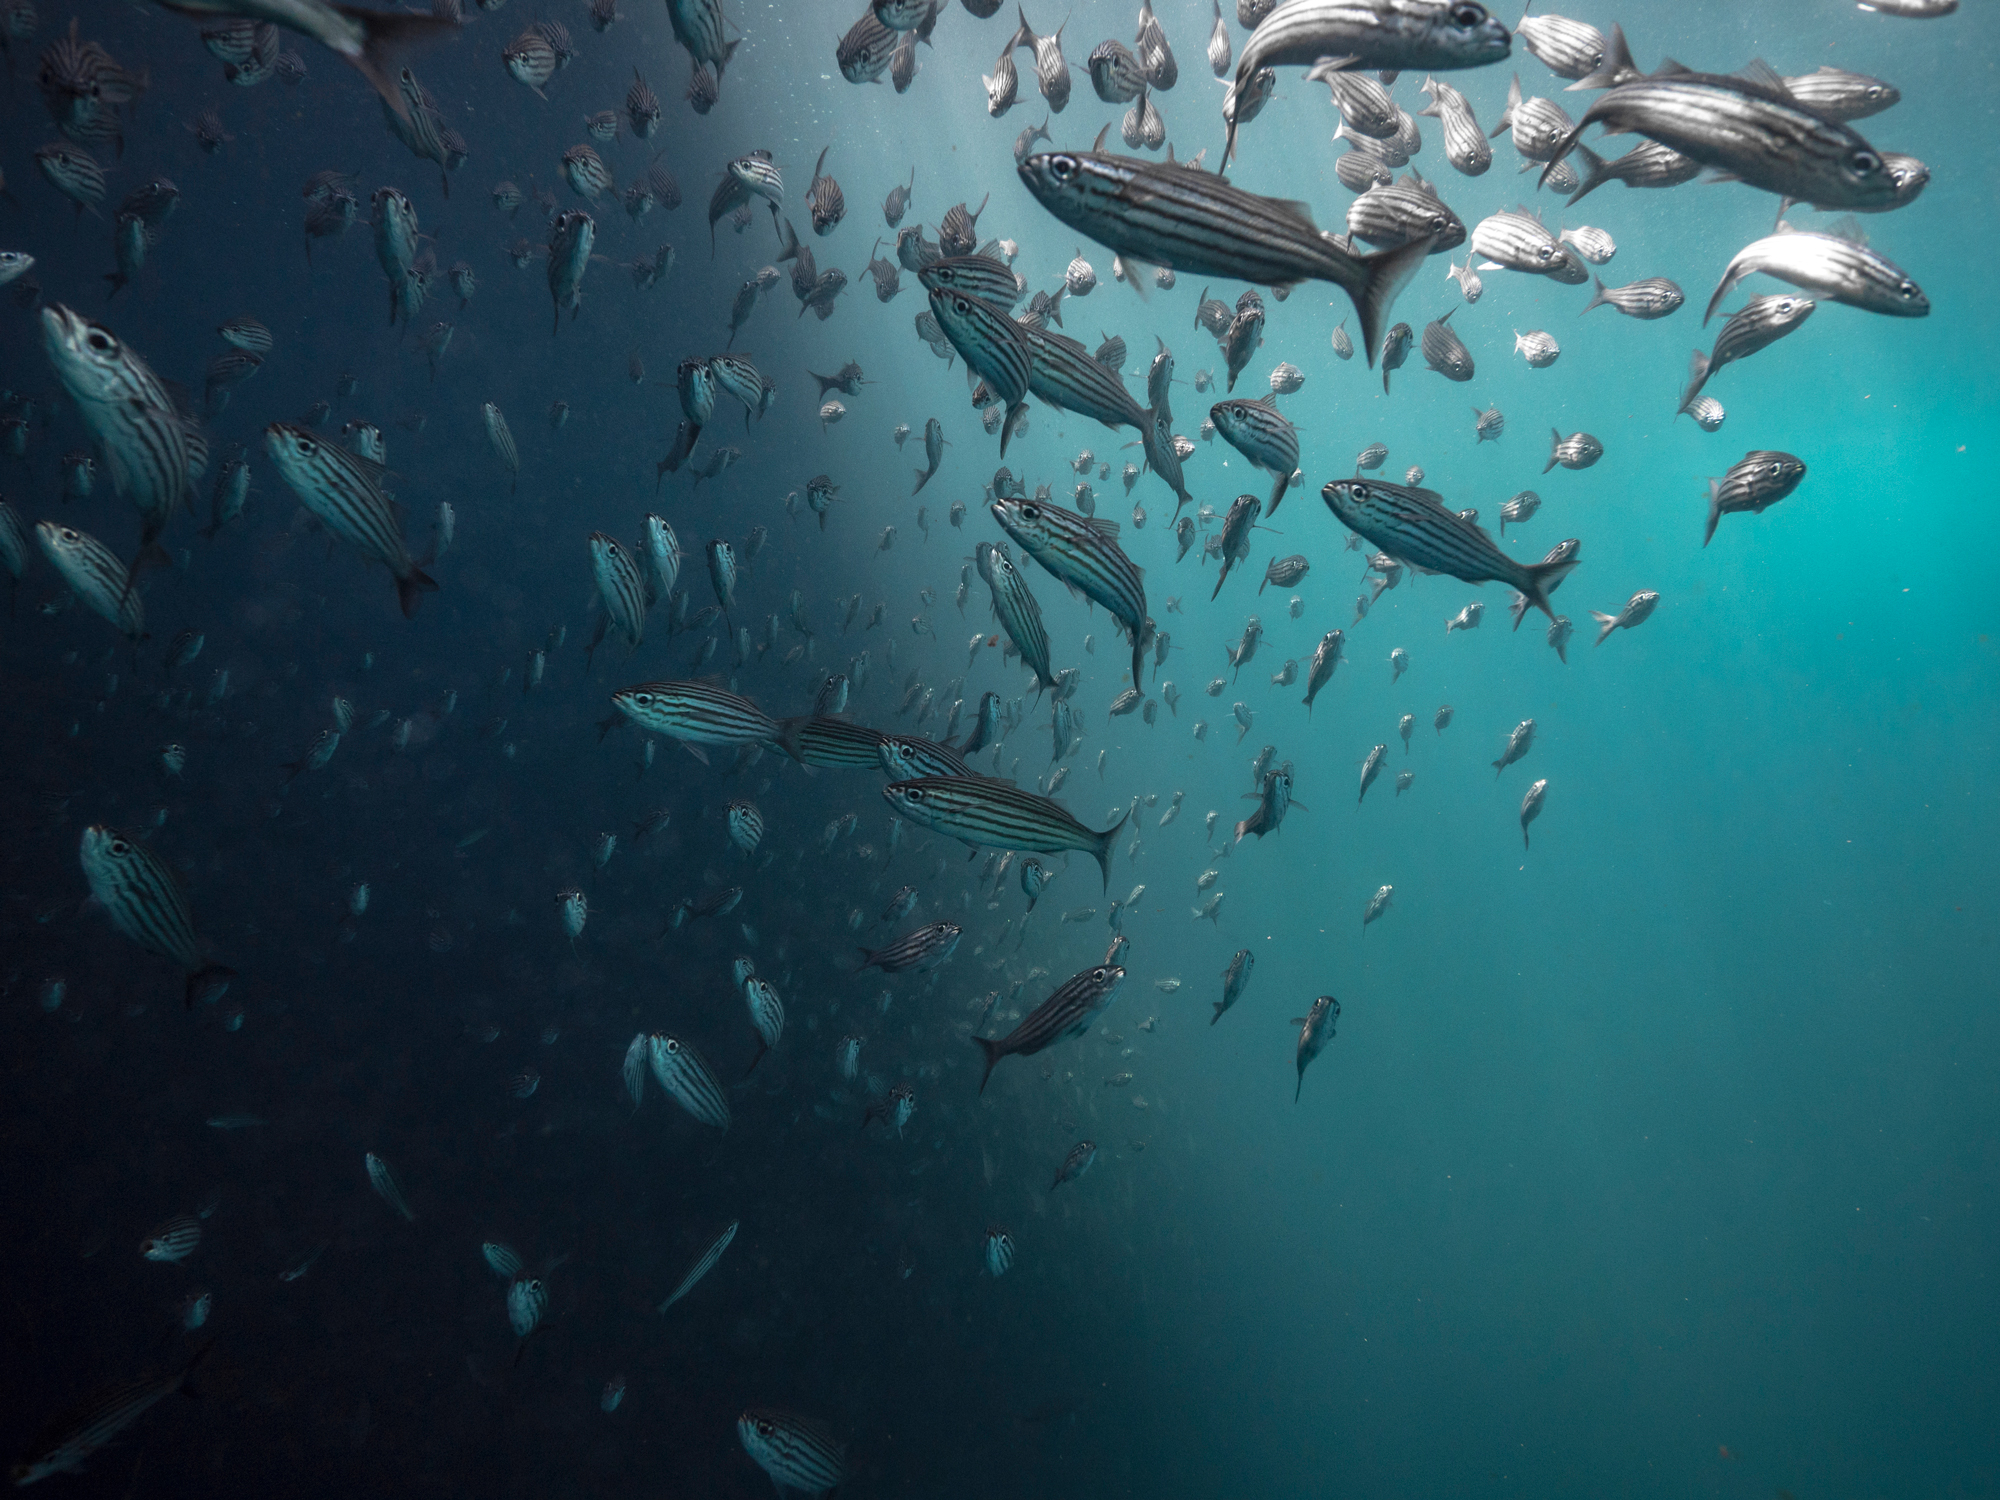
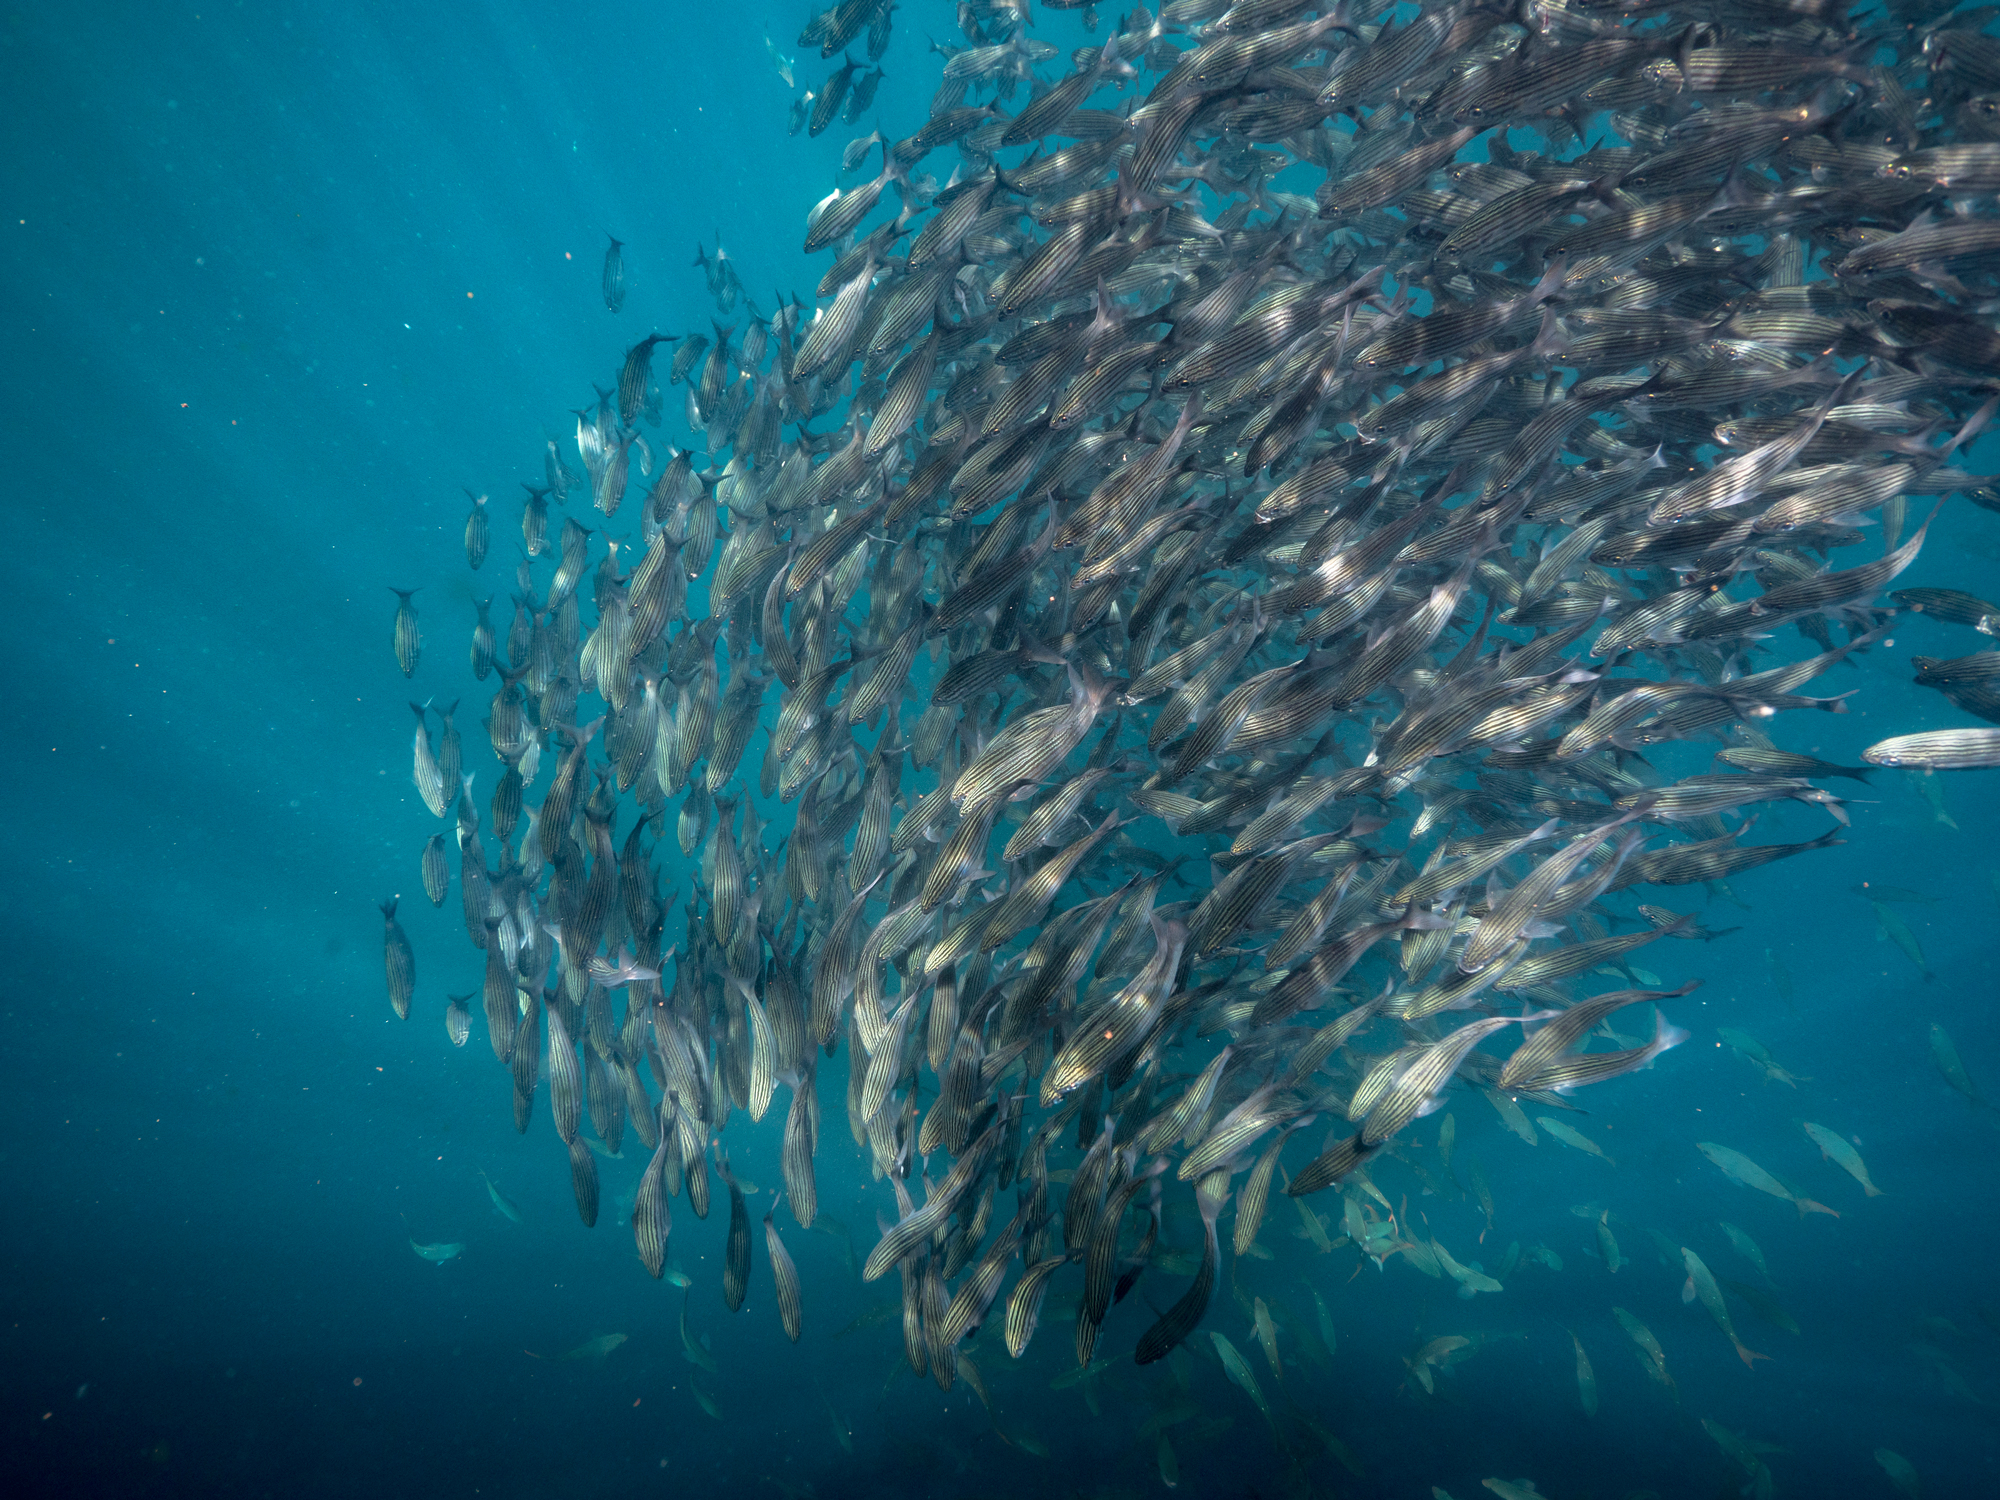
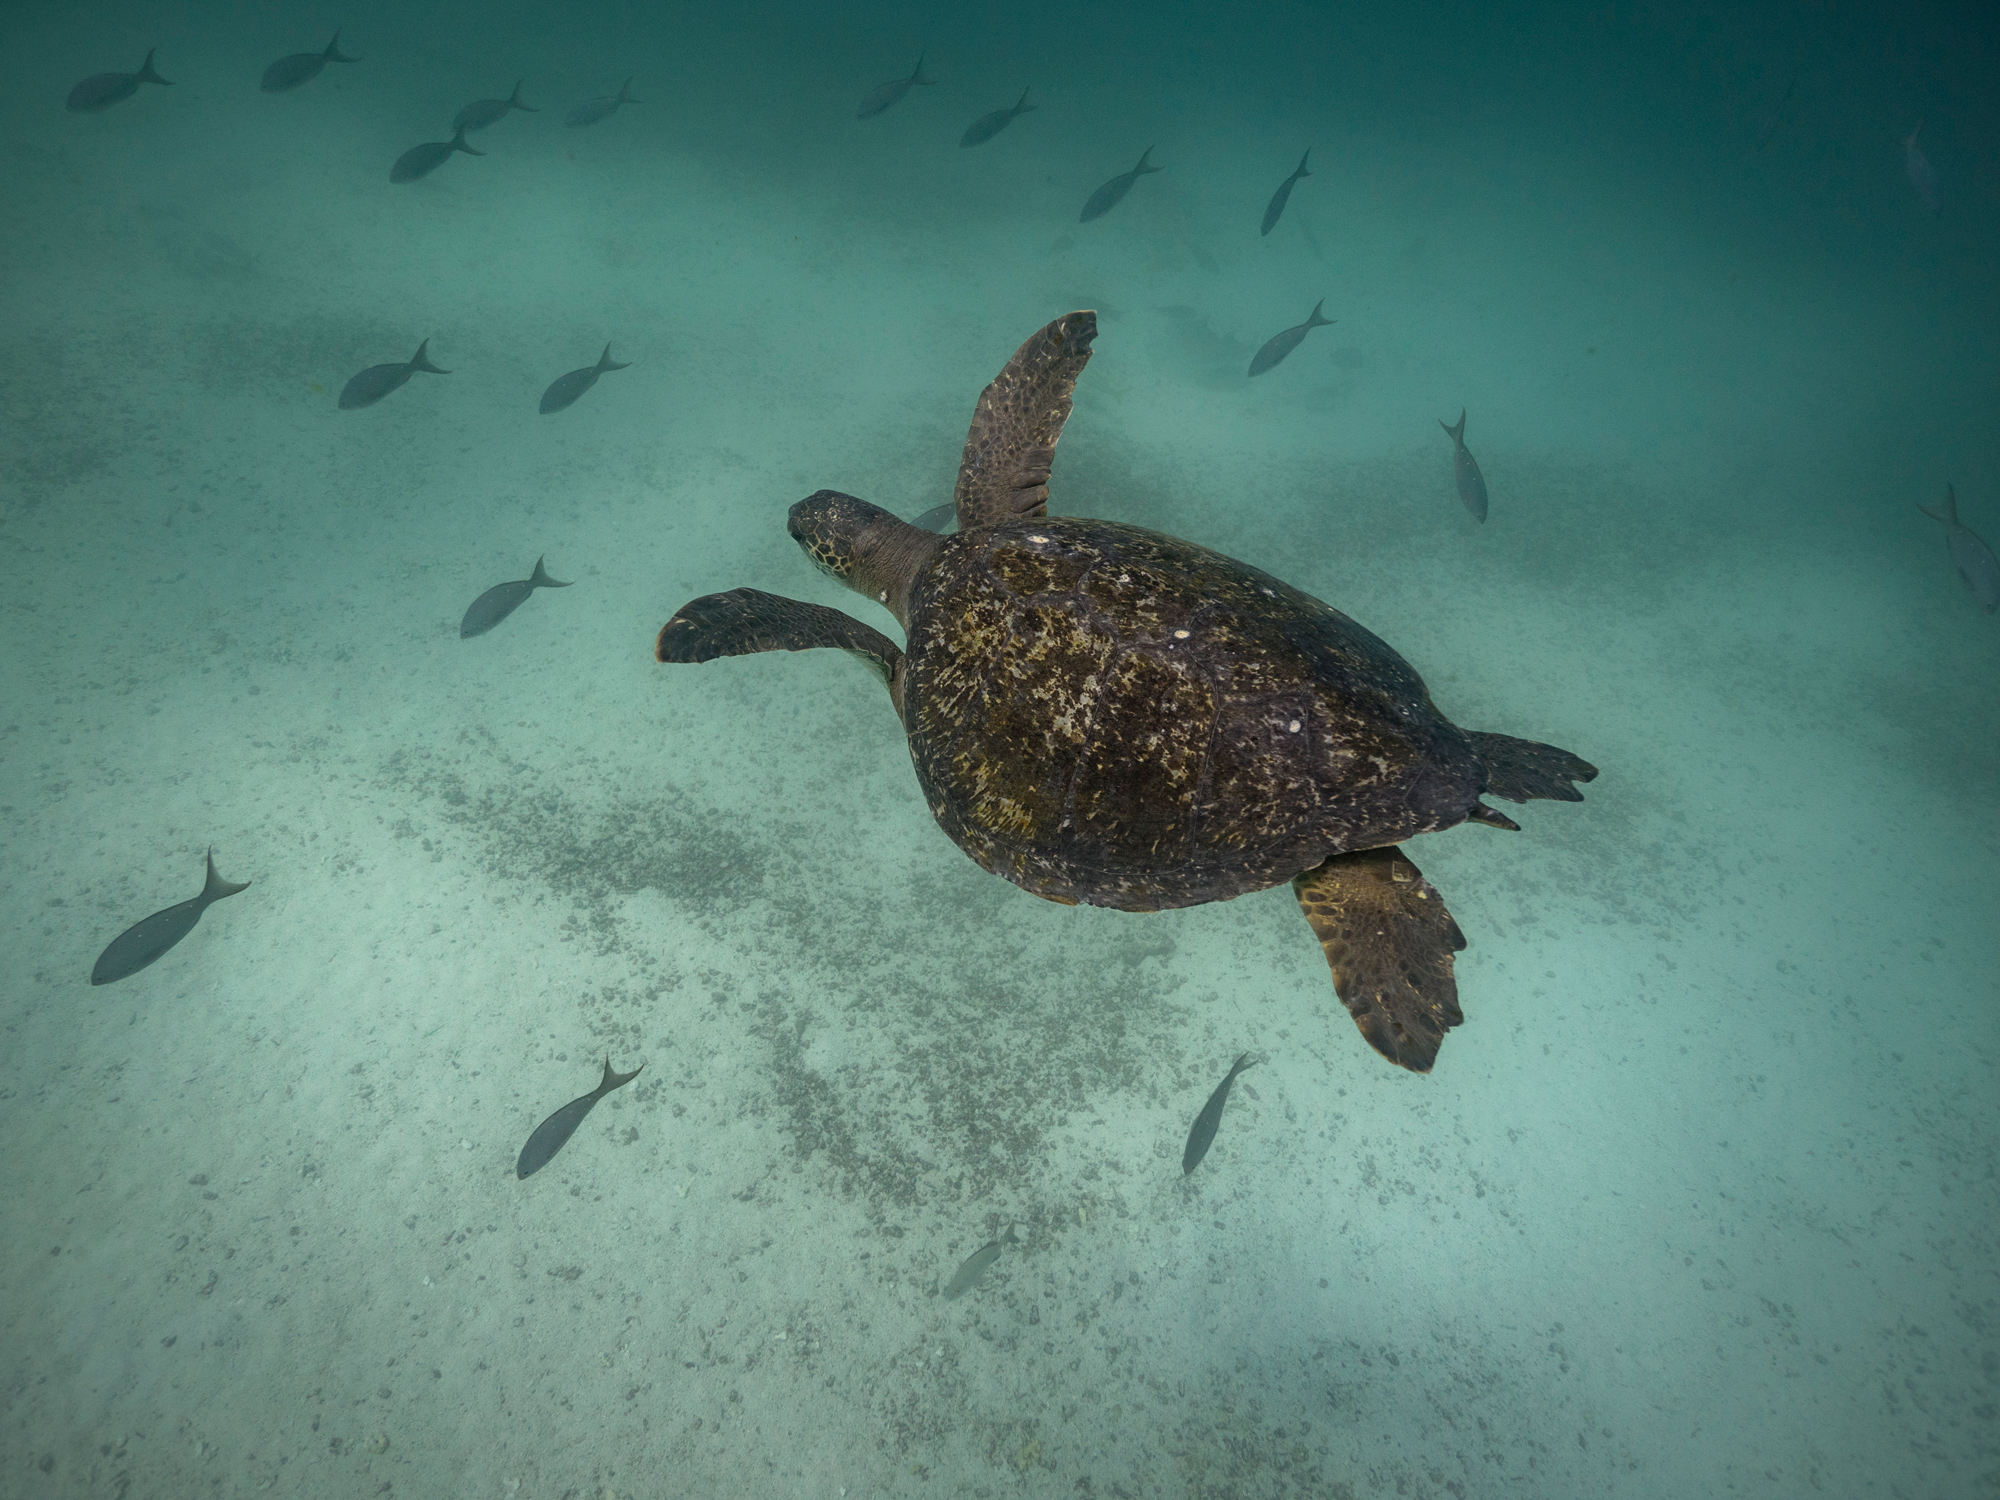
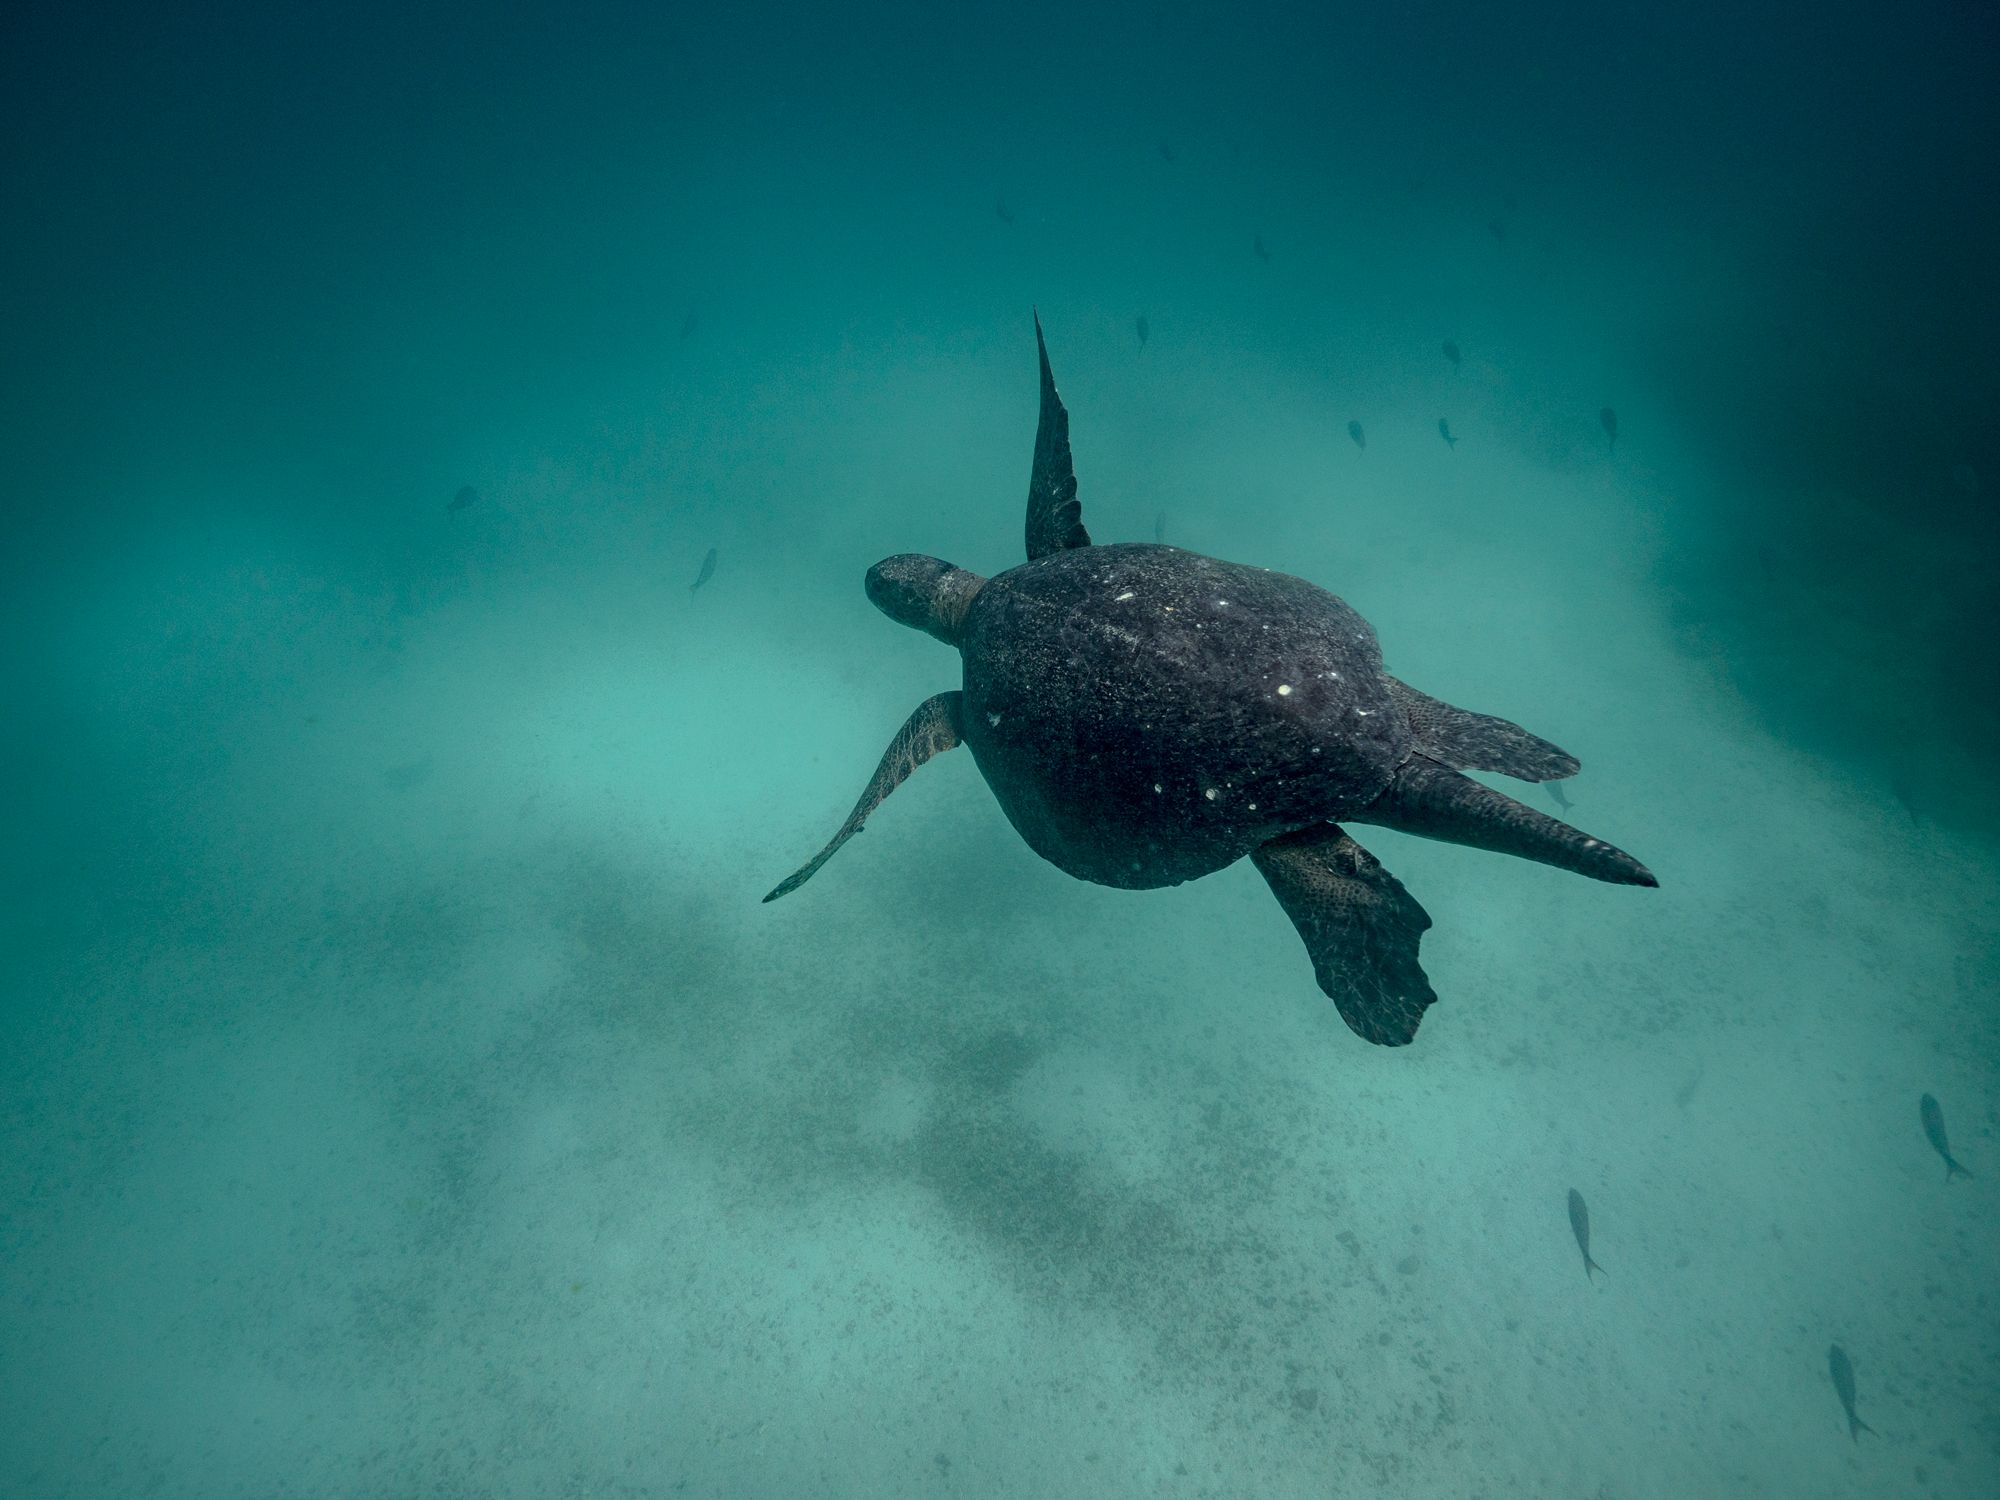
The final result
The video at the top of the post and the photos below are from my first two weeks shooting underwater.